How to create and apply a patch with Git
Creating a patch file with git is quite easy to do, you just need to see how it’s done a few times.
This article will show you how to create a patch from the last few commits in your repository. Next, I’ll also show you how you can correctly apply this patch to another repository.
Before you start
To make creating patches easier, there are some common git practices you should follow. It’s not necessary, but it will make your life easier.
If you fix a bug or create a new feature – do it in a separate branch!
Let’s say you want to create a patch for my imdb gem. You should clone my repository and create a new branch for the fix you have in mind. In this sample we’ll do an imaginary fix for empty posters.
1git clone git://github.com/ariejan/imdb.git
2cd imdb
3git checkout -b fix_empty_poster
Now, in the new fix_empty_poster branch you can hack whatever you need to fix. Write tests, update code etc. etc.
When you’re satisfied with all you changes, it’s time to create your patch. FYI: I’m assuming you made a few commits in the fix_empty_poster branch and did not yet merge it back in to the master branch.
Creating the patch
Okay, I’ve made some commits, here’s the git log for the fix_empty_poster branch:
1git log --pretty=oneline -3
2* ce30d1f - (fix_empty_poster) Added poster URL as part of cli output (7 minutes ago)
3* 5998b80 - Added specs to test empty poster URL behaviour (12 minutes ago)
4* aecb8cb - (REL-0.5.0, origin/master, origin/HEAD, master) Prepare release 0.5.0 (4 months ago)
In GitX it would look like this:

Okay, now it’s time to go and make a patch! All we really want are the two latest commits, stuff them in a file and send them to someone to apply them. But, since we created a separate branch, we don’t have to worry about commits at all!
1git format-patch master --stdout > fix_empty_poster.patch
This will create a new file fix_empty_poster.patch with all changes from the current (fix_empty_poster) against master. Normally, git would create a separate patch file for each commit, but that’s not what we want. All we need is a single patch file.
Now, you have a patch for the fix you wrote. Send it to the maintainer of the project …
Applying the patch
… who will apply the patch you just sent! But, before you do that, there are some other steps you should take.
First, take a look at what changes are in the patch. You can do this easily with git apply
1git apply --stat fix_empty_poster.patch
Note that this command does not apply the patch, but only shows you the stats about what it’ll do. After peeking into the patch file with your favorite editor, you can see what the actual changes are.
Next, you’re interested in how troublesome the patch is going to be. Git allows you to test the patch before you actually apply it.
1git apply --check fix_empty_poster.patch
If you don’t get any errors, the patch can be applied cleanly. Otherwise you may see what trouble you’ll run into. To apply the patch, I’ll use git am instead of git apply. The reason for this is that git am allows you to sign off an applied patch. This may be useful for later reference.
1git am --signoff < fix_empty_poster.patch
2Applying: Added specs to test empty poster URL behaviour
3Applying: Added poster URL as part of cli output
Okay, patches were applied cleanly and your master branch has been updated. Of course, run your tests again to make sure nothing got borked.
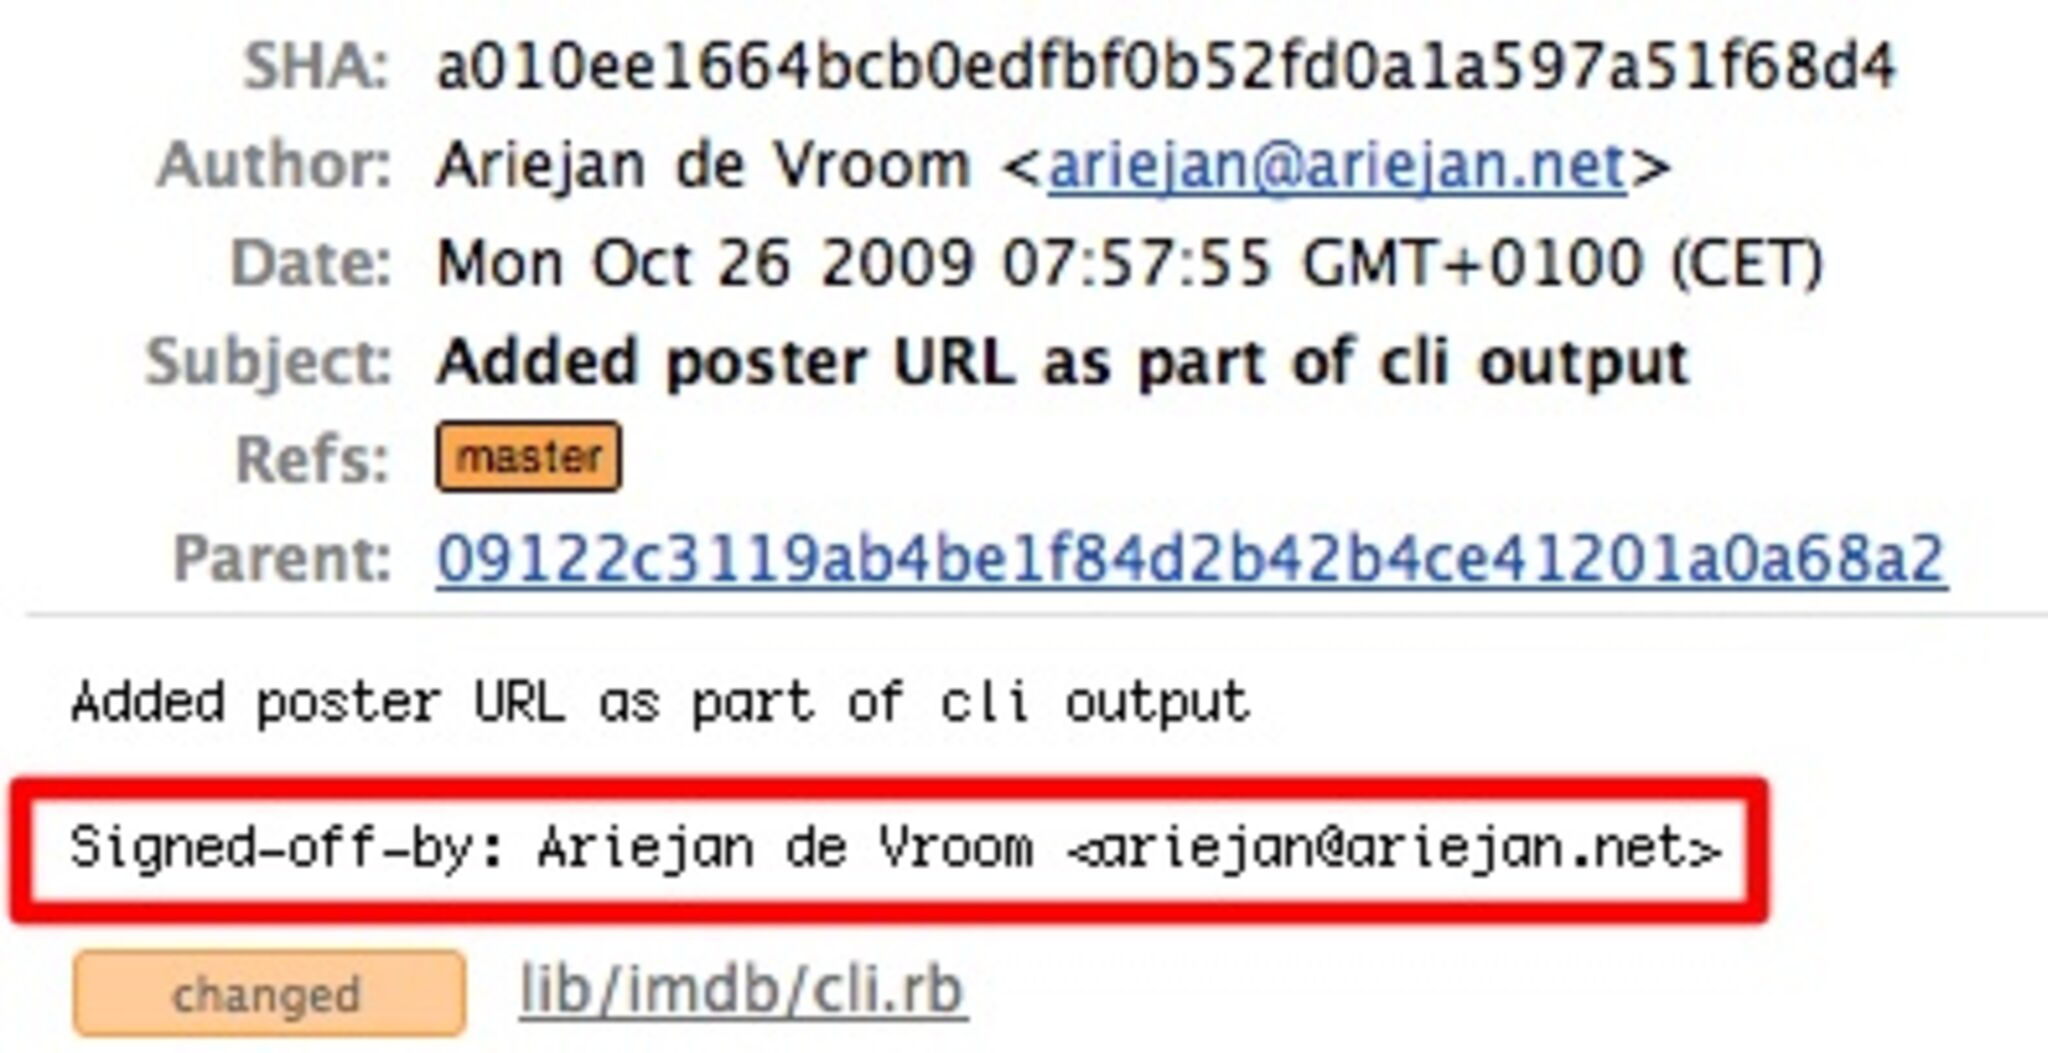
In you git log, you’ll find that the commit messages contain a “Signed-off-by” tag. This tag will be read by Github and others to provide useful info about how the commit ended up in the code.
That’s all folks!
Are there any other git topics you’d like covered here? Please let me know!